Instagram trending name art video editing 5apr
Hi friends how are you today I am going to share another amazing editing solution so I sincerely hope that everyone will learn about the editing process because this editing process will give you many benefits. So I tell you this because I sincerely hope that by learning the editing process like everyone else, you will learn good and useful editing can be provided for every customer by using the Alight Motion and capcut application.
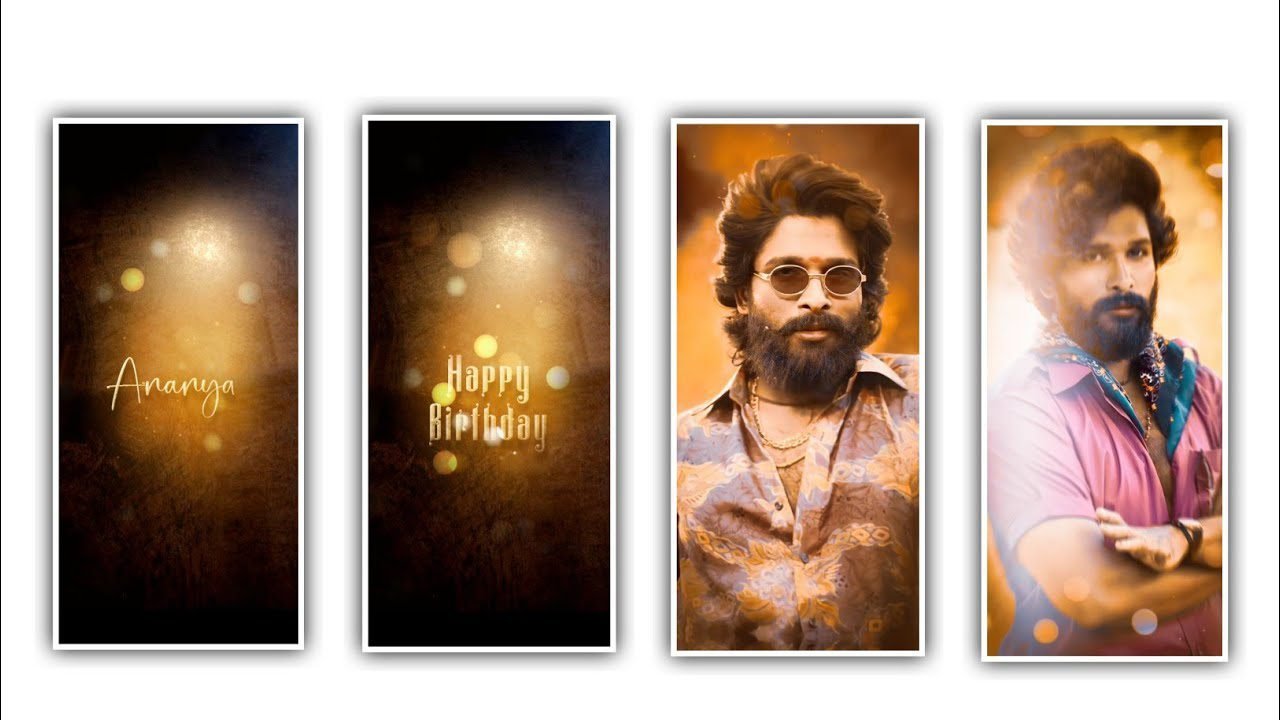
Everyone has an interest in doing their own editing, if they learn this kind of editing process slowly, they will become the ones who have learned the editing process completely, so you can edit the photos you like like I did based on the effects that I have given in the description. Many people think that editing should be done on mobile so that you don’t have to bother anyone for editing, and I say a good application is for such people. Now let’s get to the best editing process I’m going to talk about today.Now simply open Alight motion application and choose the ratio as a 9;16 and keep the background color as black and click on create project before that you need to set screen frame rate as 60fps and click on create project to process the editing process by using the best editing process. But l will provide you a best preset link below in description so please follow the instructions to understand the editing process of the project.
After that you have to add the lyrics to this project because before that I will give you the beat mark project in the description so you can easily download and add it from there, doing this will give you a lot of benefit because you will only have the lyrics without editing some things. By editing and adding effects like I have given, it will be made into a good editing.click on add effects and choose the option copy background with standard settings and choose the option fill and keep it as 0%, and choose another effect simple starfield with standard settings and choose the option position and keep X=0, Y=0, and keep Z =-59, and choose scale and keep it as 1.00, size as 0.010, feather as 1.0, keep colour as white and choose the option alpha as 100%, and keep amount as 25.00, and keep brightness as 1.000, and choose the option blending mode and keep screen enable.
And add another effect chroma key with standard settings and select the option key color and keep it as black. And keep threshold as 0.1068, and select feather as 0.050, and keep defringe enable and disable invent. Now add another effect exposure and gamma with standard settings and choose exposure as -1.48 and keep gamma as 1.000, and keep offset as 0.00. Now the process of editing After that you have to play this project once and then you have to export it, although it will take some time, you will definitely get the project exported in this project in your gallery, so I am telling you with the feeling that everyone will learn its interesting and easy process. So I sincerely hope that everyone will learn the process of this.
After that you open the capcut application and after that put the export and project in it and you do some editing process like a little darkness and other effects and you also export the project and save it.For those who understand an editing press, in the next article I will bring you another editing process in tomorrow’s article.
I sincerely hope that your valuable support will be extended to me now. I would like to thank everyone who has supported me so far by name and I will tell you more about the good editing process in a way that everyone can understand. I hope you will continue to support me.
►Kinemaster Preset Link 👇
DOWNLOAD
►Beat Mark project preset :
DOWNLOAD
►Shake effect Preset LINK 👇
DOWNLOAD
►Beat Mark Xml file Link :-
DOWNLOAD
►Shake effect XML LINK 👇
DOWNLOAD
►Video Photo LINK 👇
DOWNLOAD
DOWNLOAD
DOWNLOAD
► Song Download Link 🔗
DOWNLOAD


Post Comment