best health insurance 2031
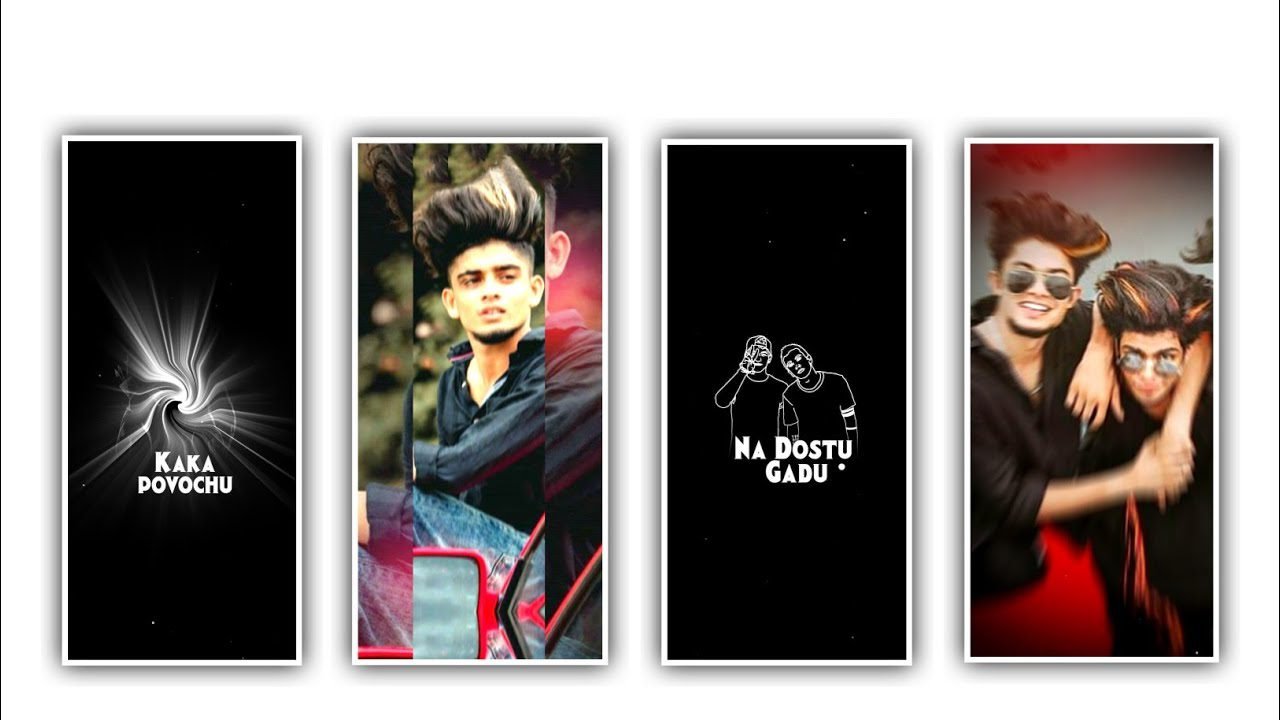
Hi friends how are you and today i am going to tell you about an amazing bgm medical video editing project not many people know about this editing project so this process is going to be understandable to everyone so pay careful attention you are already DJ lyrical video editing so same as you DJ but by using this we are creating the trending BGM lyrical video editing to edit this project so simply download and option the Alight Motion application and choose the plus icon and select the screen ratio and you can choose the 9:16 ratio to edit this particular editing process and I will provide you the beatmark project in our project description so please download through the link and you can open the file of beatmark and you can automatically generated and added to the alight motion application so when you see the interface you can observe the project there you will observe the song and some other lyrics which is related to the song.
If you not like to continue the same effect then you can add or replace the song for chat you need to choose the option audio and you can select the song from your gallery by choosing the plus icon to edit the certain editing project and we are added some keyframes to the text of the project and you need to play the song and you can add the lyrics as per the song so you can create a new text layer and you can add the text when you play the song you can observe the first lyric and you can add the same in text layer and you can add the stylish font by choosing the option roboto regular and choose the font and apply to the project.
And now you can observe the beatmark and there you can observe the stickers in the project which is added to the project and now you can not remove the images and now you can choose the option shapes and you can add the heart symbol to the project by choosing the shapes option or otherwise you can select which you like to process. And you need to need to drag the same layer for 30 seconds
And now choose the option boarder and shadow option and choose the option stroke effect enable and you can add the colors to the project and choose the black colour to the shape and now choose the option boarder and shadow and you can enable the option shadow and keetge boarder colour as white and now increase the shadow then the glow effect will be added to the shape and you choose the white line and keep it for 4.08 seconds and you can add the photo and you can also add the single photo or multi photos and these are useful to process the editing. After added the image you can choose the option three dots and you can fill composition area to zoom the image and apply to the project and you can also add multiple photos it will depend upon your interest. And now choose the shape and select the photo and make the long press and you need to make them as a group. And now choose the edit group and you need to adjust the photo and you can choose the effect and choose the tiles effects with standard settings
And apply to the project and now open the settings and choose the mirror option and enable the option and apply to the project and now choose the image and select the option move and transform and you can zoom the image witg your fingertips. And now keep the white line in 5.01 seconds and choose the white line and keep the option trim and you need to choose the middle group and select the option add effect and select the exposure and gamma with standard settings and now select the select the exposure and you need to add the key frame in starting of the layer and keep as 0.70 and now add the add the key frame in before middle and keep the exposure as 0.00 and then you can observe the beatmark the photo will appear with lighting effect. And again you can come back to starting and you can choose the same layer and you need to copy the effect and paste to the second layer and you can choose the last layer and paste the same effects to the project.
And keep the white line in 4.08 seconds and you need to add the particular image or stickers from you galary and apply to the photo and you can choose the colour options and you need to decrease the opacity then the colour will be appear neatly and now zoom the image for that choose the option move and transform and you can adjust the image and keep it into middle and choose the boarder and shadow option and you can enable the shadow and keep the white colour and apply to the project. And now you can observe.
the editing and now come back to starting and to add the animation effect to the project for that I will provide you the shake effects preset in our project description so you can add the same preset to this editing project and open the shake effect and you can observe the last layer because it was the particle video and it will be useful to process and you need to choose the option rectangular and copy the layer and come back to the editing beatmark project and keep the white line in 4.08 seconds and you can paste the effects to the layer in this way you can add the effects to the project to process the editing so who are interested to edit this project please support our then we will create more trending projects and apply to the project.
►Kinemaster Preset Link 👇
Wait for sometime
►Beat Mark project preset :
DOWNLOAD
►Beat Mark Xml file Link :-
DOWNLOAD
►Shake effect Preset LINK 👇
DOWNLOAD
►Shake effect XML LINK 👇
DOWNLOAD
►Video Photo LINK 👇
DOWNLOAD
DOWNLOAD
DOWNLOAD
DOWNLOAD
► Song Download Link 🔗
DOWNLOAD


Post Comment