Money view personal loan information 2067
Hi friends how are you today through this article I am going to tell you how we can create love failure video editing on our own most of us have already created it if not I am doing it in a new way so everyone watch this editing process till the end I will also give you the materials and fonts used in it It has been given in the description so that everyone will get a complete understanding of the editing process and I hope that if you learn this editing process and you will also be able to create it yourself so you create this project you need to download the alight motion application to process the complete editing and I will provide you the beatmark and shake effect project will be already provided in project description so you can download the beatmark and shake effect through the link and import to this editing project and now you can open the beatmark project and scroll down there you can observe the song and according to the song we are added the lyrics to the project and also added some key frames to the project
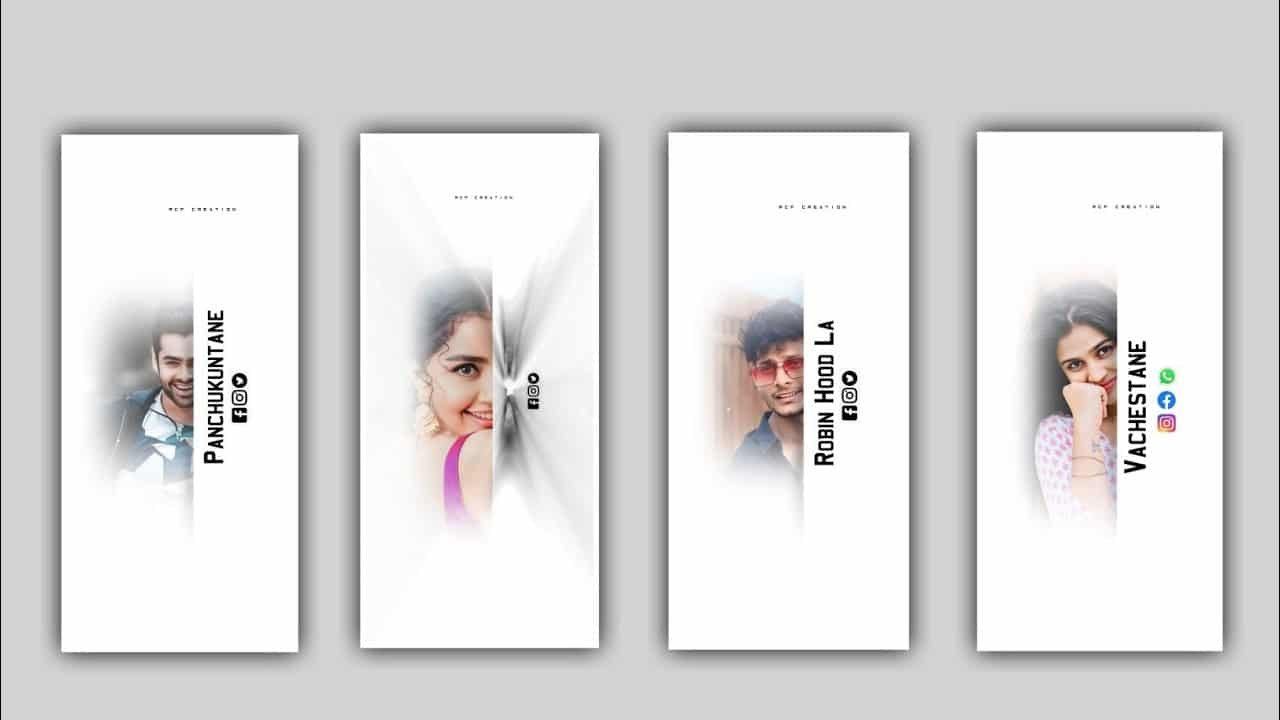
And now click on the each to add the font so for that process I will provide you the best stylish font in our project description so download it and use the same font to the text for that click on first lyric and choose the option roboto regular and add the font to the text after that you can add the colors to the project and now you need to increase the size for the text and now you select each text and add the same to text to process the editing and now in this way you can add the font for all the text which you added to process and now add the photos to the project for that keep the white line in starting and you need to add the 10 photos to process the editing because the animation effect will be applicable for the photo so come back to starting and you can add the new project and keep the screen ratio as 9: 16 ratio and add to the project and now you need to select the photos and apply to the project after adding the image and choose the option fill composition area to zoom the image into full screen and you can adjust the image properly by using move and transform option
And now you can export the project so choose the option png and download to your gallery after that process come back to starting and select plus icon and add the another option and you can select three dots to choose the fill composition area and now select the option move and transform and adjust the same photo and click on export icon and save the image as png into your gallery in this way you need to remove the background images of your photo for that you need to create a new project and replace the image that you have added earlier then you need to add new photos there after adding click on the three dots and click on the full composition area by doing that the image will be full screen and after that they will adjust and set the face correctly in the middle of the table then click on the export icon and then click on the exposing option the project will be saved as a png image You apply the same process as the photo to your gallery and now open the beatmark project and now select the option image and video and then you can add the png images into this project
And you can add the same to the project in this way you have not added every single image to this project and extend it for 30 seconds after you save the extended image in this way add another image in the same image and also add this way you have to do the editing process so that three four images come perfectly in the middle click on the move and transform option and you have to adjust the image to the middle now you have added four photos also those four photos If you select and select those layers you will have an option named group above by clicking on that option named group you will make those phone images together into a single image then you have to set the width of these images to 1080 and height to 1000 If you do not include edited images it will extend even longer and although you can add multiple images at the same time under the extension and you have to duplicate the same layer and replace it with another image in the place of that image layer
In this way after doing photo and it colour adjustment for that select color and field option and you have to do color adjustment of your photo click on move and transform option then click on z axis and you can start this image from frame to middle frame and Also put a key friend in the ending. After that you have to keep scrolling and zooming and scrolling the layer of the image the photo is zoomed and each photo looks very clear and the lyrics are also very beautiful so while scrolling you can see the lyrics playing and the image is also zoomed and if you want to do the editing process like this then once again it is a complete editing project so once you have noticed and click on the export icon and export this is today project I think many of you like the editing process and you should continue the same process I will inform you in the next article about more interesting projects and I will sincerely hope that your support will always continue with us It is because of your support that I am like this new creativity thank you for being able to say the editing project thankyou.
►Kinemaster Preset Link 👇
DOWNLOAD
►Beat Mark project preset :
DOWNLOAD
►Beat Mark Xml file Link :-
DOWNLOAD
►FULL Preset LINK 👇
DOWNLOAD
►FULL project XML LINK 👇
DOWNLOAD
►Video Photo LINK 👇
DOWNLOAD
DOWNLOAD
DOWNLOAD
DOWNLOAD
► Song Download Link 🔗
DOWNLOAD


Post Comment