upstoxs stocks & demat account full information 3020
Hi friends how are you today i am going to tell you about an amazing editing process this editing process can be created very easily with your photos it is very good for whatsapp status so with the intention of making everyone aware of the editing process I am going to tell you about the editing project in particular and also this I hope you like the editing project as we are using Kinemaster application and without such delay I will carefully explain to you about the options used in the editing process
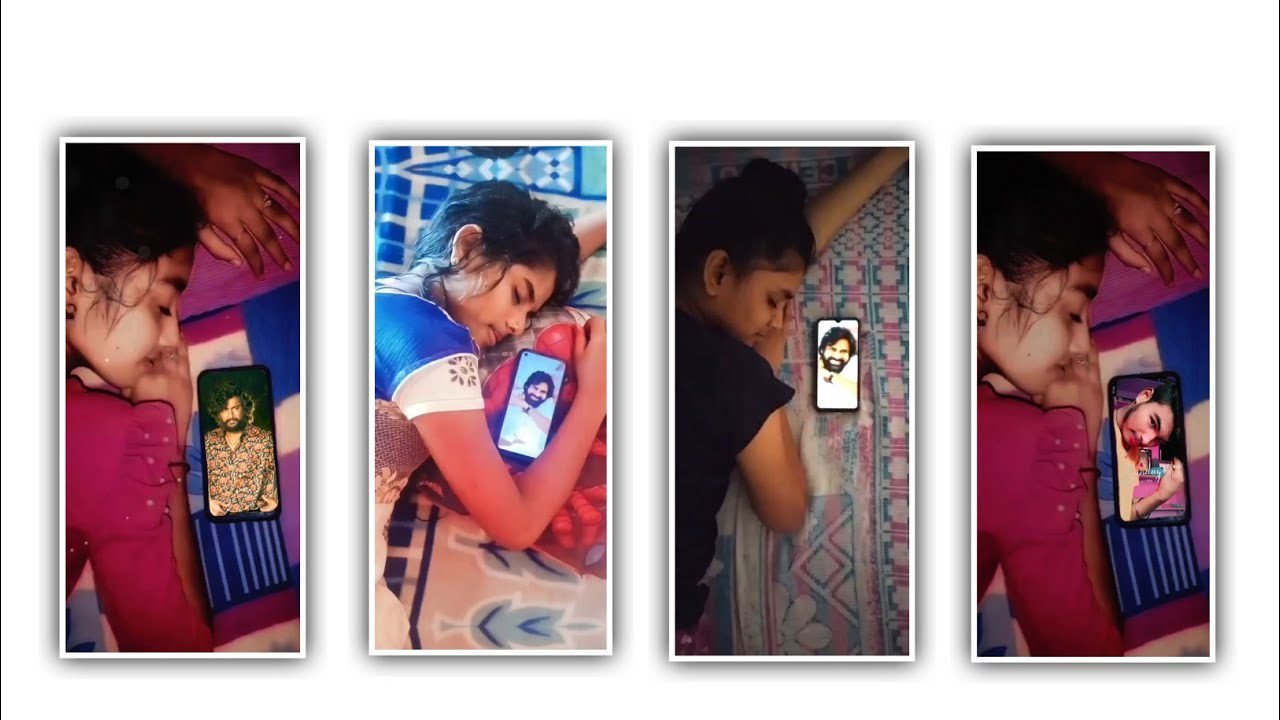
and also about the materials added as extras and also once you watch the demo carefully and the editing process is designed in a very stylish way like the temperature I used for this projects the animations related to lyrics and the background photos can be provided as a link in this project description as you have started this project first open the kinemaster application and do not open it so you will see an option create project so tap on it and set the duration of the photo to 9 seconds and apply to the project to process the editing
After that process you need to choose the option nest and choose the images and select the white colour image and now choose the settings and select the photo duration and keep the photo duration as8 seconds and keep the photo display mode as fill screen and apply to the project and now choose the media and you can add the hd quality images to process the further editing so choose the layer and select media and you can add the images into this project as a sequential order because you can add the several photos at a time to design the project
and after that process choose the photo layer and select the option pan and zoom add select the second option square to full screen the image and this process will be done for every image and apply for every photos after that you can observe the photo in full screen and you can do some adjustments for the photo to make the photo brighter so choose the option adjustment and select the brightness and keep is a 0 and you no need to change and select the contrast option and keep it as +30% because it will be designed to increase the intensity
And and select the option saturation and keep it as +73% and apply to the project after that process you need to choose the second photo and you can done the same adjustment to the remaining photos of the project so click on each image and make this process and now came back to starting choose the option layer and select the media and come back to starting and now you need to add the lyrical video from you gallery because it will be useful to design this editing project and you can choose the lyrics and now keep the white image and choose the option trim and split and choose the trim to right
of playahead and apply to the video and and now again split the layer and delete the extra part and now choose the option plus icon and select the blue colour brush template and you can add to this project and it will be provided in our project description so use them to process the remaining editing after adding the temple to the project and select croma key option and you can arrival the option you can make some adjustment colours and apply the project
And now you need to keep the key colour to the project and you need to add the different as pure blue colour to the project and now you can forward the layer and now choose the black colour and choose the photo and delete the extra unwanted part from the project and now choose the photo and select the sessor symbol to split the layer because of them you will observe the animation of the ink Spector effect to the photos which you added in this project in this way you can do the same process to remaining photos and you can add the same in splash effect to all photos in the project
after that process as long as you add music photos will be played in the same way and also I have given you a template video in the project description which can provide animation like effects so you need to add that video to the project work so download the video from the description first and get it ready and click on the Layer option and add the video to this project from the videos After adding then click on the split screen option and select the second options square
By selecting the effect the effect will play in full screen after that I have given another article in this project description if possible and you also need to download it and import it into the project because we add such animations to make the project more attractive so after adding in this project and click on the option called split screen after clicking on it and if you tap on the second option that appears there and your particle video will be full screen then you go to the option called Blending do the screen and increase the opacity by doing
this articles like applied video will be useful for your project and choose the export icon to export the project and have you seen that by using some effects in this way we create very attractive by editing process and also you have these applications with types of animations you can also use them if you do not use particles like I have given this editing process will be more beautiful so everyone learn the process and try it yourself please support and support me keep giving me your valuable support I will tell you about many more interesting points like this thank you
►Kinemastar Preset Link 👇
DOWNLOAD
►Full Project Presets LINK :-
DOWNLOAD
► Full Project XML file LINK :-
DOWNLOAD
► Video All photo LINK👇
DOWNLOAD
DOWNLOAD
DOWNLOAD
DOWNLOAD
► Song Download Link 🔗
DOWNLOAD


Post Comment