New style special name art video editing by using kinemaster application.
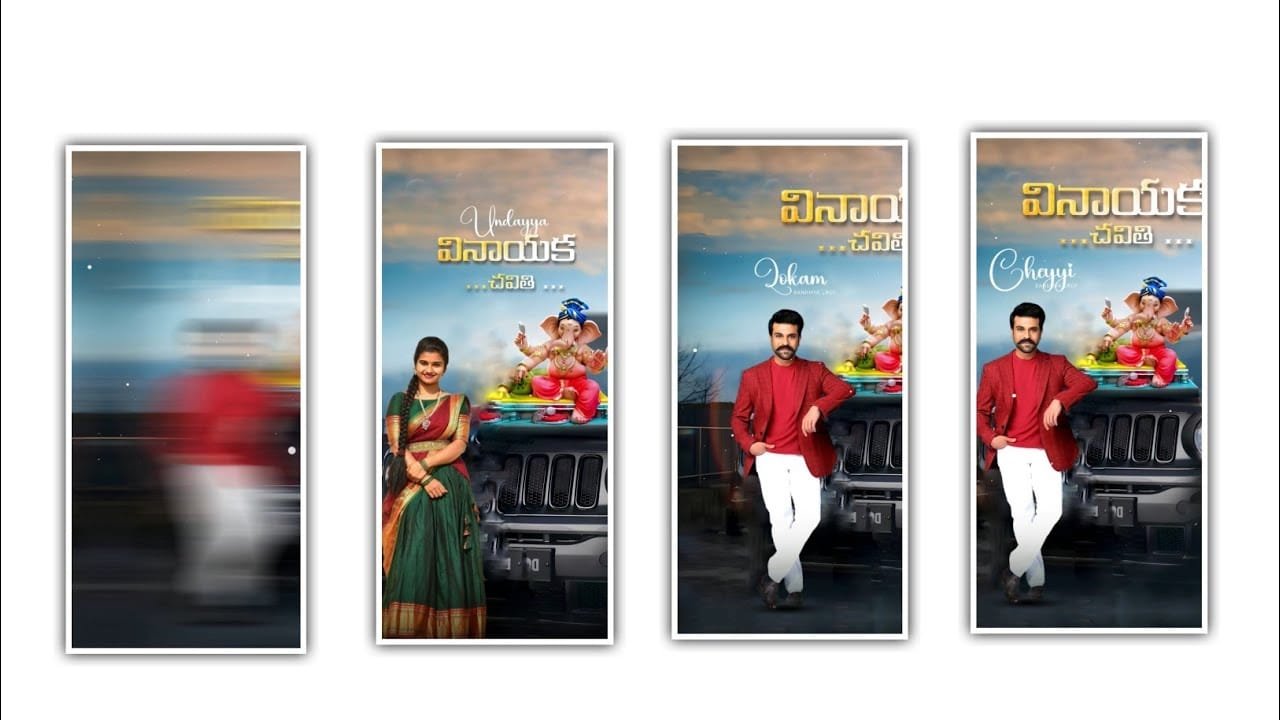
Hi friends how are you today I am going to tell you about how to do name art video editing in a new way unlike before editing process i am going to do it using kinemaster application. So everyone download and install this application first of all because every one using this editing application very easy editing process Because every single option is visible above so that everyone can only person to understand the process. So if you use that particular animation for proper editing, the editing process like you have edited will be created very easily. If you need to use the options you can add different text and if you follow the same process for editing. And you will definitely get this name art editing process in the editing process so I hope that everyone should observe it carefully and create it on their own. So I used total materials can be provided in our project description so you can download through the description to edit the project. And I will provided you to backgrounds and two photos and at the same time I will provide you the snow video to process the project.
And also used music can also be provided as link in project description so please download to continue the editing process. After that process you need to open the kinemaster editing application and choose the option new project and choose the screen ratio as 4:5 and click on create project to continue the editing process. After that you need to add the background images so I please download through the link and add the two background images and add to process for editing. After that you need to extend the background image for 30 seconds and come back to starting and now choose the layer option and choose the media and select the images which you like to process the editing so please select the images from your gallary and add to the project and now choose the magic remover option to remove the background it is only simple option to remove background of the photo. And now choose the cropping option and select the mask option enable and add the circle shape to the project and increase the feather level upto 40% and apply to the photo. And now choose the same photo and increase the size of the photo and choose the option alpha opacity and you need to decrease upto 48% and apply to the photo.
After that process you need to add the effects to the photo for that choose the option filters and choose the animation warm and choose the fifth effect to the project. After that come back to starting and you can adjust it perfectly to the project and now choose the layer option and choose the another photo from your gallery for that choose the layer option and select the photo to add to the project and and now choose the option magic remover the background photo will be removed and now choose the mask option enable by using the option cropping and increase the feather level upto 50%. And now you need to adjust the photo to the project and now again choose the filters option and choose the same effects warm and select the fifth effect to the editing project. And choose the alpha opacity and you need to decrease it upto 8% and apply to the project and the image will be big then choose the option circle shape and apply to the project and the shape will be depends upon the photo size. After that process you can extend the same photo layer to the project editing upto 30 seconds to edit this project. And now if you like to decrease the feather effect so choose the option opacity then you can decrease the alpha upto 25% apply to the photo.
And now you need to increase the quality of depth and choose the layer option and choose the text layer and you need to add you name and now choose the colour options and add the black colour to the photo. And choose the option my fonts and choose the particular font and you can add the particular font from your gallery because we will provide you fonts in project description and add to this project. And now you need to add the handwriting font and you need to add the same font to the text and now choose the outline font and you need to enable the outline option and now decrease the weight for +4% and apply to the text. And now choose the option shadow enable the option and choose the settings and select the distance and keep it as +5% and choose the angle option and it as +225 and you can add the speed upto +11 and you can save the size of the text upto+10% and you need to adjust the shadows option to process the editing. And now you can add the colour to process the photo and now you need to adjust the photo and decrease the size and now apply to the project and add the colour as white and choose the outline stroke and add the black colour to the project.
And now you need to choose the same font and apply to the project and now you need to choose the option enable and now you can add the text layer and you can extend the same layer to process the complete editing. After that process come back to starting and you can add the boarder and choose the split screen and choose the option blending and you can apply to the project. And now choose the layer and select the option media and choose the snow particle video and apply to the project. And now now choose the option split screen and select the blending option and keep the screen enable and apply to the project. And now choose the background above photo and choose the adjustment and choose the depth and you can apply to the photo. After that process you need to add the song to the project for that choose the option layer and select the song and add to process the editing project and now choose the song layer and apply to the project. And this is the process to edit the name art editing process so every person can understand the complete editing process and you can choose the option export icon and export the project with high quality and apply to the project. Hope you guys will understand the editing process and you can add also create the same project by with your own style and apply to the project. And please support our website and you can add the keep the same support in future then we can create the best quality trending projects as upcoming articles thankyou.
kinemaster preset
Beat Mark
DOWNLOAD
Xml
DOWNLOAD
Full project
DOWNLOAD


Post Comment