Latest Instag Trending Boys Lyrics video editing in alight motion Full Screen video Tutorial 18sep2
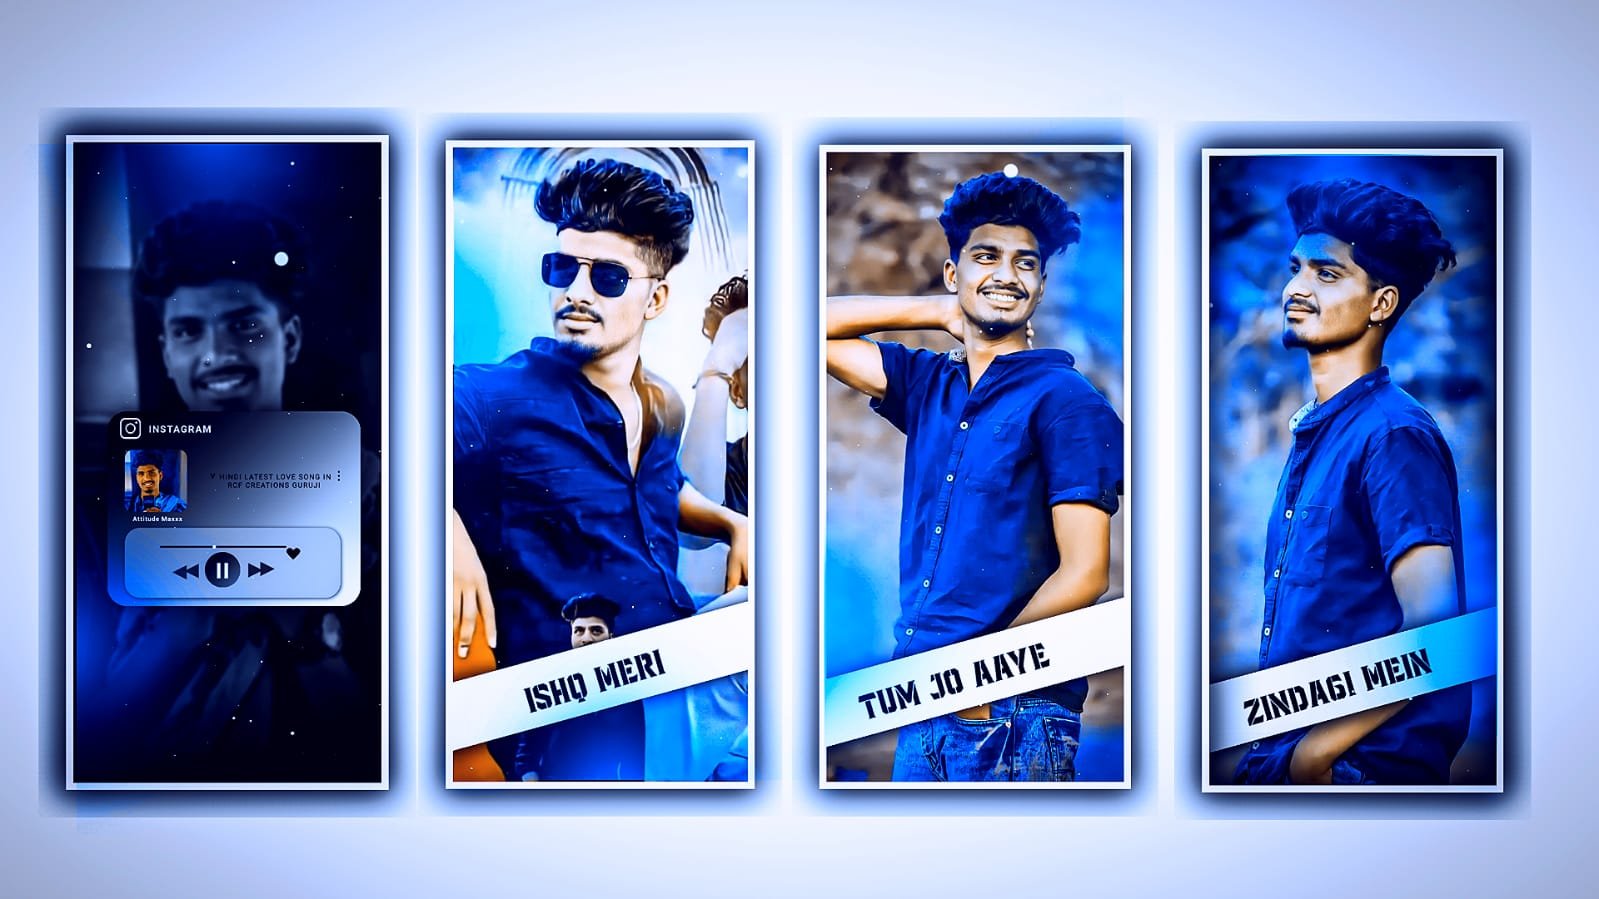
In this project I will explain about how to create your own effect beat mark by using Alight motion application. Now open atmosin application click on plus icon and select the ratio 9:16 and keep the background as Black and click on create project to continue the process of editing. After that we need to add the audio for this project for that click on audio and select the option view on and select the song which you want to edit in this project and click on the plus icon to add the song.
After that play the song and add a mark where the beat mark is coming. After that play again the audio and place the marks. After that we need to add the images according to the beat mark now select the first make beat mark and click on image and video and select the option view all and select the image which you want to edit in this project by plus icon.
And zoom the image by clicking three dots and select the option fill composition area and fill screen the image. Again click on second bit mark and click on image and video and select the second photo from there and click on three dots and select the options will composition area and zoom the image.
And the same process will be continued for the remaining images which you want to edit in this project. After that we need to add the effects for this project for that click on first image and select the option effects and select the effect click blur and select zoom blur with standard settings and select strength and add a key frame in starting and keep it as 0.42, And add another key frame in middle and add a key frame and keep it as 0.00, and adjust the curve with your fingertips.
After that Click on add effect and select the effect pinch blur with standard settings and select strength add a key frame in starting and keep it as 0.72 and add a key frame in middle and keep it as 0.00, after that Click on the curve symbol and adjust the curve with your fingertips. After that select radius and keep it as 2.500, And come back to starting and add another effect and select colour and light and select the option brightness and keep it as +5%, and select contrast and keep it as +5%. And add. Another effect channel remap RGB with standard settings and add letters and select replace G with B.
Now play the video and see the effect which is added in this project. Now the process of editing will be completed click on the export icon and select the quality and click on the export button to export the video with high quality it will take some time to process and be added to the gallery.
I hope you guys will understand how to edit this project please support us by visiting our website and it will give us encouragement for us to create more projects like this and keep the same support in future thank you.
All Materials Links :-
►Kinemastar Preset Link 👇
DOWNLOAD NOW
►Beat Mark project preset :
DOWNLOAD NOW
►Beat Mark Xml file Link :-
DOWNLOAD NOW
►Shake effect Preset LINK 👇
DOWNLOAD NOW
►Shake effect XML LINK 👇
DOWNLOAD NOW
► Video All photo LINK 2👇
DOWNLOAD NOW
► Song Download Link 🔗
DOWNLOAD NOW


Post Comment