🔥Alight Motion Next Level Video Editing in Instagram Trending 21oct2
hi friends in this project I’ll explain about best photograph editing totorial please follow the instructions also you can understand how to edit there type of editings.
Pscc and Lightroom application and meterial link can be given in description please download it from description. First of all open pscc application after that click on plus symbol and choose photo library and I’ll give you background and PNG images link is given in description please download it from there.
And now select the background image and add by clicking plus icon. After that click on photo layer and select photo library add the lord Krishna PNG and increase the size of PNG and click on add tools and select fade symbol and add two dots keep one dot at neck and keep the second dot at above of the grass select the right click. After that you can adjust the PNG by clicking add symbol and select the option transpose. And click on layer symbol and keep the opacity as 70.
After that click on photo layer and photo library and select your PNG. And select as half picture. And click on add symbol and click on transpose and adjust your PNG and again click on photo layer and photo library and choose flute png as having with your hands and choose right click.
After that click on erase tool and decrease breast size as 73 and erase fingers and palm. And click on layer symbol and choose the option merge down. And you can also replace you image as ur friends and others if you interested. After that click on background layer and click on photo layer and select photo library and add the flags into this design and click on add.
And now rotate the flags and adjust them into right side as slides. And now increase the size. After that click on effects symbol and choose gaussian blur and blur as 40. And click on plus icon and choose background layer and merge down.
And choose lord Krishna PNG and click on background image and combine down. And again click on photo layer and choose photo library and select dots photo and click on add and now increase the size. And again click on plus icon and choose the option duplicate layer.
After that again plus icon to add another duplicate layer. And click on move and transform and the keep the two frames into one and merge down. After that click on gaussian blur and add 13.0. and select subcaste and click on merge down.
After that click on photo layer photo library and add the smoke png and click on add. And click on plus and now we can add another. And click on add symbol and choose the transfigure. And now we can add the and live png and click on right click.
Now the editing process will be completed now click on lightroom application and add the image which is edited in pscc application. elect a triangle symbol and choose shortening and keep it’s 120 and choose the marking and keep it as 74 the noise reduction and keep it as 69. And choose discrepancy and keep it as 76 after that click on square symbol.
And now click on texture and keep it as 89, clarity = 34, and Vintage-20, feather = 110, highlights = 65, and choose colors and select yellow and keep the saturation as 24.
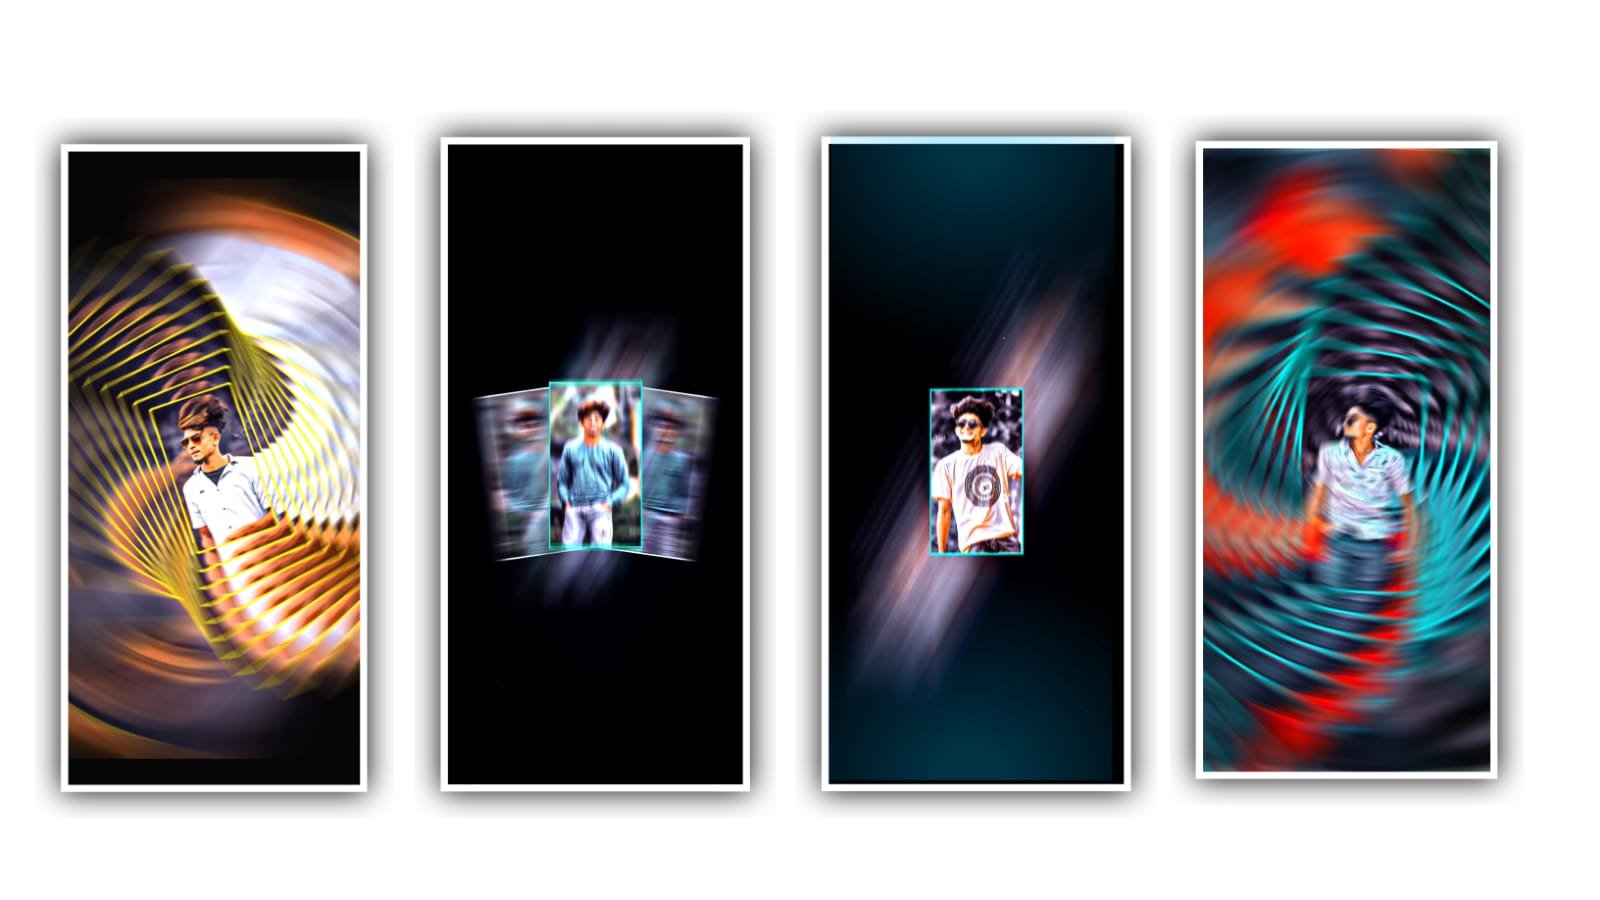
So the process of editing will be completed in two applications so hope you guys will you like this design you can also try with your own photo and please support us by visiting our website to contribute best content in future thankyou.
All Materials Links :-
►Kinemaster Preset Link 👇
DOWNLOAD
►Beat Mark project preset :
DOWNLOAD
►Beat Mark Xml file Link :-
DOWNLOAD
►Shake effect Preset LINK 👇
DOWNLOAD
►Shake effect XML LINK 👇
DOWNLOAD
► Song Download Link 🔗
DOWNLOAD


Post Comment