Alight Motion Fast Dj Remix Next Level Video Editing in Instagram Trending video editing 27oct2
Hi friends in this project I will explain about shaking lyrical effect editing. So please don’t miss the instructions because then only you can understand how to process the editing project like this video.
Open Alight motion application and click on plus icon and select the ratio 9:16 for project as full screen and keep the background colour is black and keep the frame rate as high and click on create project to process the editing.
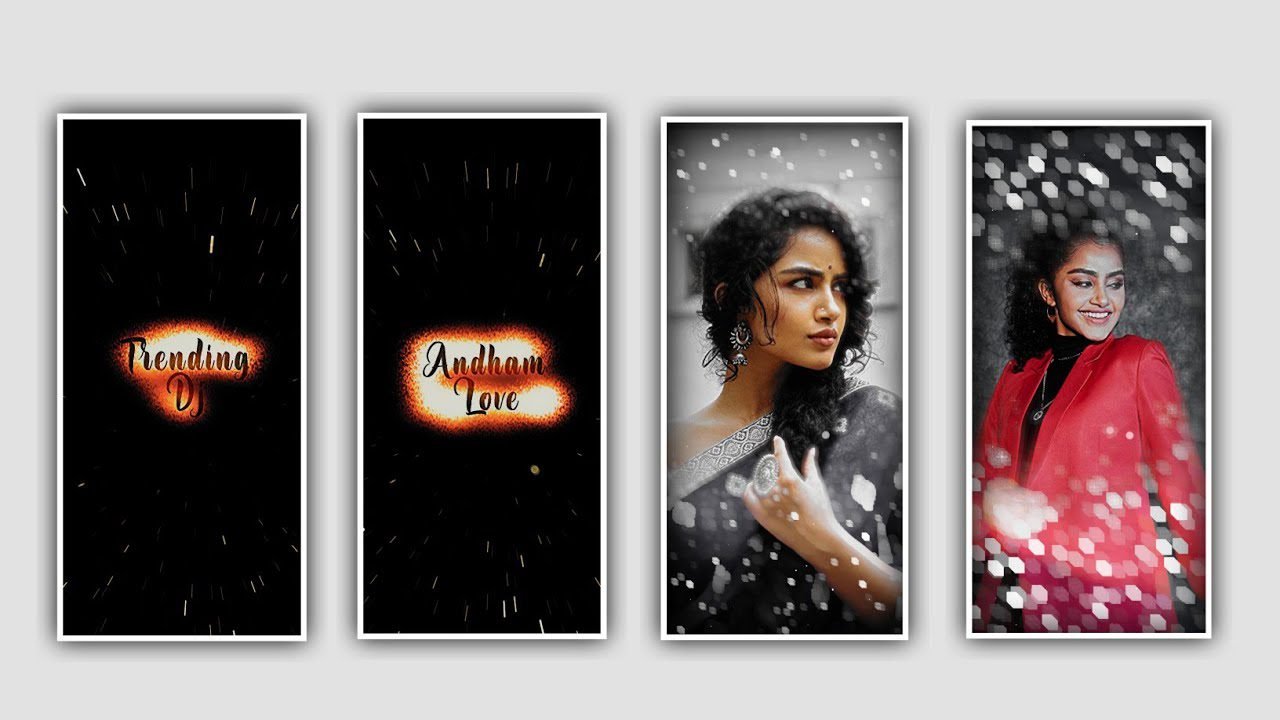
After that you need to add the image for this project because the image will be decided that which song that you can edited in this project to add the image into this project you can choose the option image and video and click on view all for select the image and click on plus icon to add after adding the image you can observe the image as a normal ratio so click on 3 dots and select the option fill composition area to make the image as full screen and drag the image layer up to 29 seconds.
After that adding the image you need to add the song according to the image because the image will decided that which song to be added in this project and to add the song into this project click on audio to select the song and click on plus icon to add into this project to continue the editing process. After adding the song see the interface it will be visible as two layers one is image layer and another one is song layer.
After that you can play the song and listen the lyrics because you can add the lyrics into this project the listening the song and you can download this song lyrics from browser into notepad before editing this project now simply go back to notepad and copy the lyrics according to the song and come back to this project click on Text option and choose edit text to paste the copy lyrics to add into text layer. And you can add remaining lyrics to this project according to the song you need to split the first layer and copy from notepad and paste them into this split layer and you can process this same for adding remaining lyrics.
After that you can add the effects for the project click on add effects to choose lens blur with standard settings and select centre and add a key frame in starting select X=757, and add a key frame in middle select X=0.64, and now select strength and add a key frame in starting and keep it as 493, and add a key frame in middle and keep it as 584, and add a key frame in before ending and keep it as 0.00, and select radius and keep it as 446.
Now the editing process will be completed simply click on export icon to export the video with high resolution with standard process before export you need to add the particle video for this project which is given in description and select them by clicking image and video to add and click on three dots to full screen the particle video by clicking plus icon.
Now export this project and also keep support us by visiting the website. Your support will help to the channel grouth to create best content. We are creating trending projects in future so don’t miss them to increase your editing skills Thankyou.
All Materials Links :-
►Kinemastar Preset Link 👇
DOWNLOAD
►Beat Mark Preset LINK :-
DOWNLOAD
►Beat Mark XML file LINK :-
DOWNLOAD
►Shake effect Preset LINK 👇
DOWNLOAD
►Shake effect XML LINK 👇
DOWNLOAD
► Song Download Link 🔗
DOWNLOAD


Post Comment