Alight Motion Trending Hindi Song Video Editing in Instagram Trending video editing 5nov2
Hi guys I will explain in this video about curl lyrical video editing by using the application Alight motion so please follow the instructions to do this project in your own customisation.
Open Alight motion application and select the screen ratio as 1:1, keep the background colour as Black and click on create project continue the editing process of this project.
After that see the interface and you need to add the image to this project to process the first step of the project for that click on image and video to select the image which you edit for this project and corn plus icon to add the send image into this project after that the image is only up to 2 seconds so drag it up to 30 seconds after that click on three dots to zoom the image as a full screen.
After adding the image layer you need to add the song which you need to edit to process in this project so select the option audio and click on view all to go back to gallery and select the song which you need and click on plus I can’t for adding in this project and you need to keep the song up to 30 seconds and remaining length of the song can be trimmed.
After that you need to play the song which is added and learn about the lyrics and now you can add text into this project by listening the song to add and text you need to choose the option text option to choose a text now you can write the lyrics of this song in your sequential order by listening the song you can write it your fingertips. After that you can add a colour for this lyric which is added and increases the size of the font and you can add your font by clicking the roboto regular option and clicking on the tick button.
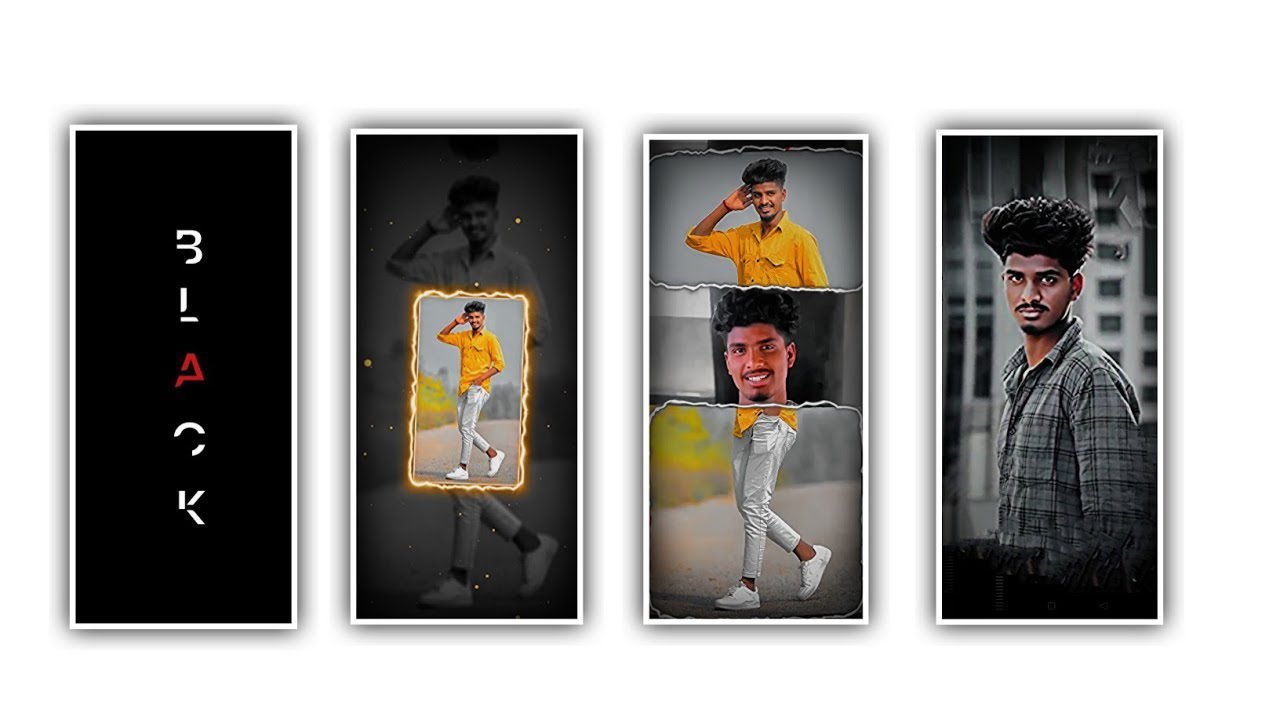
No you can see the first lyric by playing after that first lyric layer can be extended to split to add the remaining lyrics to add for this project and the same font and colours can be added into this project. After that click on effects and choose add effect and select curl with standard settings and offset to add a key frame in starting keep as 0.00 and ending and keep as 1.00. navka be the first aid to add into remaining layers which you observe.
After adding the effect to the remaining layers click on the export icon to export this project with high quality resolution. I hope you guys will understand how to edit this project. It takes some time for processing to add into your gallery.
Guys so please support our website by visiting your support will make me grow and we can also try to give you the best content in future as videos so please support for the editings thankyou.
All Materials Links :-
►Kinemaster Preset Link 👇
DOWNLOAD
►Beat Mark project preset :
DOWNLOAD
►Beat Mark Xml file Link :-
DOWNLOAD
►Shake effect Preset LINK 👇
DOWNLOAD
►Shake effect XML LINK 👇
DOWNLOAD
► Song Download Link 🔗
DOWNLOAD


Post Comment