🔥Alight Motion Trending Effect Next Level Video Editing Attitude status editing 6oct2
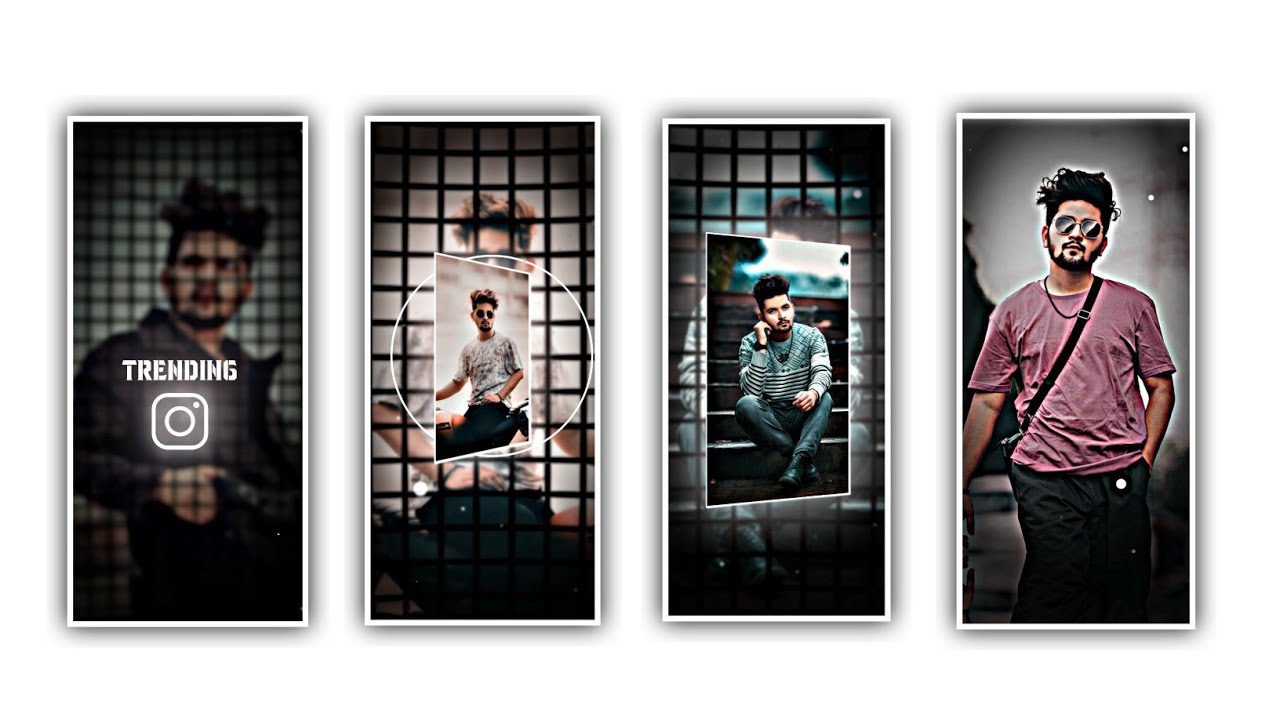
Hi guys we are discussed to explain in this project I will explain about the trending C C effect with full detailed video tutorial by using alight motion application. Now simply open a Alight motion application click on the plus icon and choose the ratio as 4:5 and click on create project to continue the process of editing.
and that we are providing you that the preset and XML links in this description please be download it from the said description. during this project I will clearly explain the process so guys please follow the instructions in a sequential manner so you may understand how to edit this project.
Then click on the image and video to choose the video and click on plus icon to add the said video into this project. After that we need to add a rectangular shape and to edit this project you must to add HDR editing.
Now click on move and transform and adjust the shape with your fingertips and keep them as middle of attraction. Now Click on rectangular shape and click on add effects to choose the effect copy background with standard settings. After that choose the option as gaussian blur option with standard settings and keep it as 5.30.
After that process want to add another effect which is possible to add in this project and select exposure and Gamma with standard settings and choose the option exposure as -80, Now click on rectangle and zoom with the help of move and transform. Now you can click on rectangular box and choose the option blending and opacity and choose the option difference and select third option substrate. Now observe the video it’ll be converted into HDR for quality purpose.
then there you can observe colour shading after that again you need to add another rectangular shape and also keep the same colour as white. Then click on blending and opacity to choose the option contrast and select the option overlay.
To edit this third process click on rectangle after that zoom them by using the option move and transform. After that again click on effects and choose the option add effect and select stretch segment with standard settings and stretch the image with your fingertips and Now click on add effects to choose the option directional Blur and increase to fill.
After that add the angle 33°. and are flipping back to starting and click on add effects to choose the effect offset with standard settings and now click on blur effect and select gaussian blur with standard settings now increase upto after that again and an rectangle box and click on move and transform to make the project as full-screen the box. After that click on graduant overlay with standard settings and choose the colour as white and add a black in below and after that choose the option lens blur and select with multiple.
And now the method of editing the process of this project will be completed. Click on export icon to export this project high quality. it’s going to prepare the project and take some time to process and automatically added to your gallery. Hope you guys will understand the way how to process this project.
You guys may try this project with your own content. Guys please support us by visiting our website your support will helps to create more trending projects in future and it will also encouragement and to create more new editing tutorials by using editing applications thankyou.
All Materials Links :-
►Kinemaster Preset Link 👇
DOWNLOAD
►Beat Mark project preset :
DOWNLOAD
►Beat Mark Xml file Link :-
DOWNLOAD
►Shake effect Preset LINK 👇
DOWNLOAD
►Shake effect XML LINK 👇
DOWNLOAD
► Song Download Link 🔗
DOWNLOAD


Post Comment