Alight Motion Dj Remix Next Level Video Editing in Instagram Trending Video Editing Attitude status 11nov3
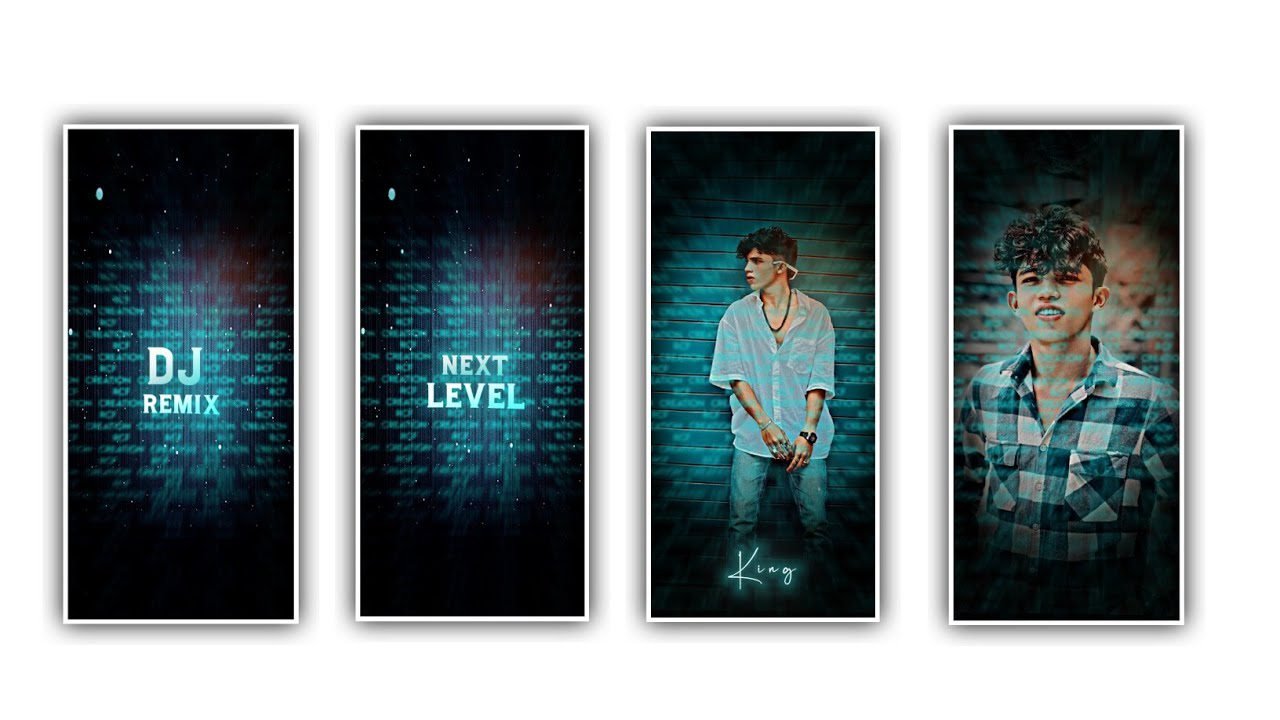
In this project I will explain about the excellent C C effect with the full version tutorial by using alight motion application. Now actually open a Alight motion application click on the plus icon and choose the ratio as 9:16 and click on on create project to keep the process of enhancing. And I will provide you that the preset and also XML links in this project description please download it from description to add. In this project I will clearly explain the process so guys please observe the instructions in a step by step way so that you can understand the way to edit this project.
After that click on the image and video and pick out the video and click on the plus icon to add the video into this project. After that we want to add a square shape and we need to add HDR enhancing. After that click on on move and transform and regulate the shape with your fingertips. After that Click on rectangular shape and click on on add effects and pick out the effect copy background with standard settings. After that click on on gaussian blur option with standard settings and hold it as 500. After that we need to feature another effect exposure and Gamma with standard settings and hold the exposure as -70, after that click on on rectangle and zoom with the assist of move and transform.
After that you may click on on rectangular box and pick out the option blending and opacity and pick out the option difference and pick out 0.33 option substrate. Now observe the video it will be transformed into HDR. After that there you may observe colour shading after that once more we want to add another rectangular shape and hold the colour as white. After that click on blending and opacity and pick out contrast and pick out the option overlay. To edit this 0.36 process click on rectangle after that zoom this while using move and transform.
After that again click on on effects and pick out the option add impact and choose stretch segment with standard settings and stretch the photograph with your fingertips and Now click on on add effects and pick out the option directional Blur and increase to fill. After. that add the angle 33°.
And flip back to starting and click on add effect offset with standard settings and now click on buur effect and choose the option gaussian blur with standard settings now increase upto after that again and an rectangle and click on on move and transform and full-screen the box.
After that click on on gradient overlay with standard settings and pick out the colour as white and add a black in below and now pick out the option lenear and select with multiple. And now the process of editing could be completed. Click on export icon to export the best project video with high quality. It may also take the time to process and automatically brought in your gallery.
Hope you guys will understand process of them to edit this project. You also can try this project with your own custamization to process editing. Guys please assist us by visiting our website with your support we will boostup and also encouraging and to create more trending editing tutorials by using this applications thankyou.
All Materials Links :-
►Kinemaster Preset Link 👇
DOWNLOAD
►Beat Mark project preset :
DOWNLOAD
►Beat Mark Xml file Link :-
DOWNLOAD
►Shake effect Preset LINK 👇
DOWNLOAD
►Shake effect XML LINK 👇
DOWNLOAD
► Song Download Link 🔗
DOWNLOAD


Post Comment