👌Instag Trending Photo Brush Lyrical video editing in Alight Motion efx video editing 15nov1
Hi friends on this project I will give an explanation about the way to add a gradient effects by the use of Alight motion application.
So every person can observe the instructions as I stated on this project as it will lets you create your favourite song may be add with gradient effects. Now simply open alight motion application click on plus icon and choose the ratio 9:16 and keep the background colour as Black and click on create project to hold the system of editing.
After that click on on media and choose the option photo and video and choose the video that you need to edit on this project and preserve upto 30 seconds and remaining part may be trimmed. After that click on on move and transform and modify the lyrics together along with your fingertips.
After that come flip back to beginning and choose the rectangular form and now once more click on on move and transform and modify the lyrics together along with your fingertips. After that we want to add effects for that Click on effects and choose the option add effects and choose copy background effect with standard settings.
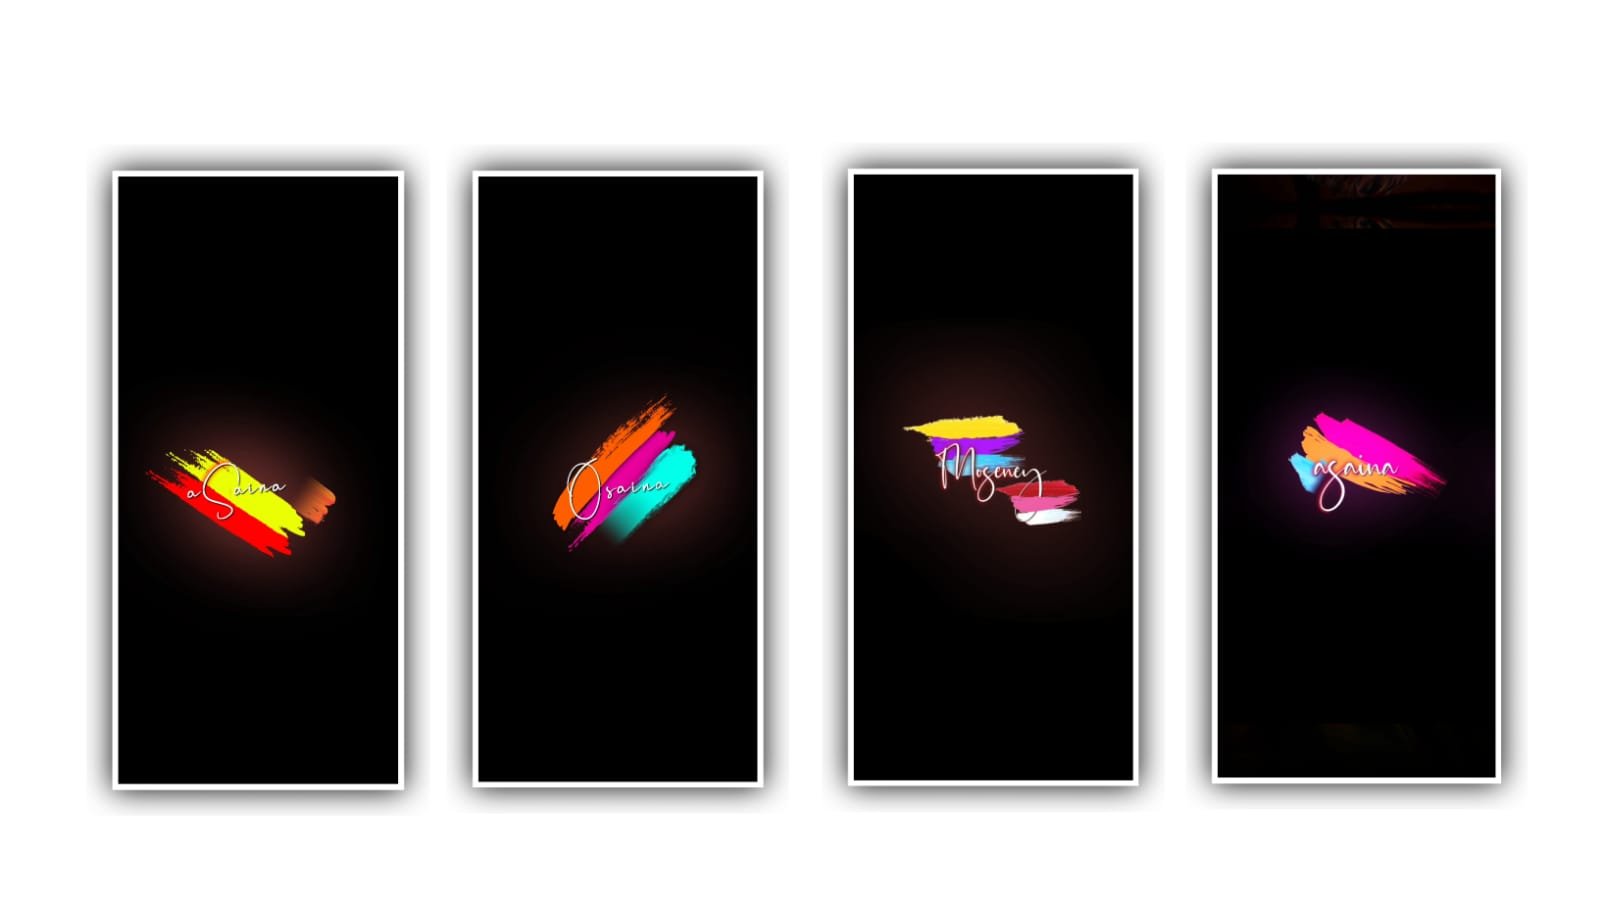
After that click on on effects and choose the option add effects and choose gradient overlay with you fingertips and choose gradient overlay with wellknown settings and choose blue colour in above. And choose the be the any other colour that you wan to edit. And do not do some other changes.
And now once more choose exposure Gama with standard settings and choose exposure and keep it as 0.18, and choose gamma and keep it as 1.156, choose offset and keep it as 0.15, choose any other effect and choose highlights and shadows with standard settings and pick out highlights= 142%, shadow=136.
After that move back to ending and are available returned to beginning and choose rectangular image and and keep the colour as green and increase the dimensions and drag the layer upto 30 seconds. And choose any other effect gradient overlay and hold the colour pink to white.
And now choose brightness and contrast and keep brightness as +7% and pick out contrast and keep it as -96%. And now choose colour and temparature with standard settings and keep temparature as 4640%, and pick out strength and hold it as 3200%. Now play the song and see the effort which is the delivered or not and they are several modifications may be found within the video that you observed they are so many colors may be added.
Now the process of enhancing may be completed after that click on export icon and export the video with high quality then automatically it is able to take some time and automatically added in your gallery.
Hope you guys will recognize the way to edit this video and you could also do that with your personal photos or video to add a colour gradient. So guys please support us by visiting our website it’ll assist us lots to create more enhancing tutorials in future please give the same support in future it will give us some support and encouragement thank you.
All Materials Links :-
►Kinemastar Preset Link 👇
DOWNLOAD
►Full Project Presets LINK :-
DOWNLOAD
►Full Project XML file LINK :-
DOWNLOAD
► Video All photo LINK👇
DOWNLOAD
► Song Download Link 🔗
DOWNLOAD


Post Comment