How to make video editor application for YouTube video editing. 1739
Hi friends in this article we are discussing how to edit How to make a video editor application for YouTube videos can be explain clearly so please support us and observe the complete information to edit this wonderful editing process. By using this video editor application you can edit the videos in a very easy and simple process.
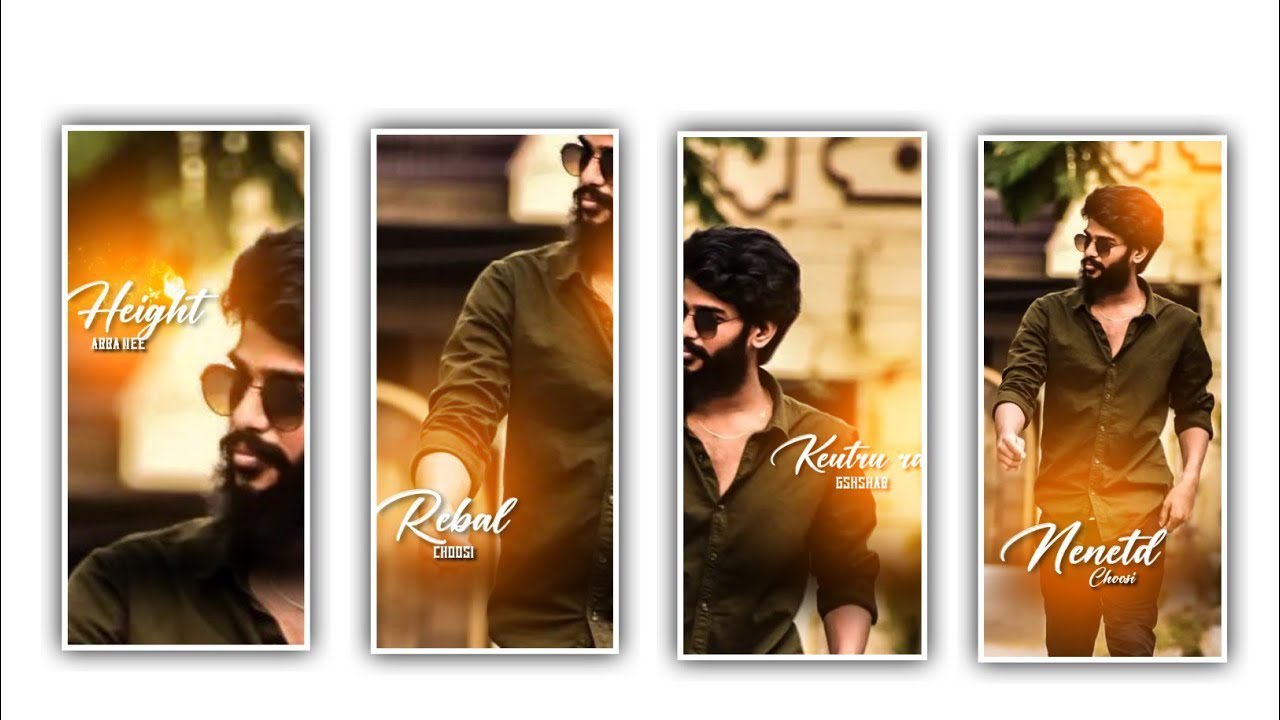
Now let’s discuss the complete information of this plan and you can download the application through the link as a given description. All premium modes are unlock under this application please download through the link. Now open the application and observe the interface and click on the new project and choose the plus symbol By using this application you will edit photos and otherwise, videos both are edite in this application,
Now see option photos and see the option recent and choose some photos from your gallery and click on add into this project,After that process now choose the option BG and choose the ratio as you prefer to add for this project. If you want choose the option what’s up status full then click on the ratio and choose 1:2 ratio and choose the colour option and add the background colour and choose bg option and choose the photos and the it will be blur and add the image as a background image. And Choose the option apply to all and it will be add for all the images as you inserted into this project, And you can choose the image from gallary or add the background as I given in description, And now you will be a added the image as a blur in background for all the images.
Now you can choose the option crop and choose the ratio 1:2 and the video was in which ratio it will be same as that process. After that choose the second redline and select the option cropping and again select 1:2 ratio and adjust the image by cropping. And all the image will be added from your galary and keep the same ratio to your photos as well. After zoom all the photos you need to add the effects for you photos that you added. And now the choose the effects option from below and select the option and see the effects and you will hold it for some time it will added to photos automatically. And now choose the effect retro and add the same effect to all the images or otherwise select that you choosen.
And choose the effect magic because it will be useful for every photo because it will forms the show to all the photos in this project.Now hold the snow effect and add and there is a small particles in this project please hold it and now choose the leaves and hot it and the effects, add the will be for all the project.As long as you hold the same effect as it is for your editing project and give it all away, the effect you choose will be add to your entire editing project by dragging the effect. Now click on the transition button because it will be works in between the layers,They are different animations that are provided in the application so please choose each and every effect which is suitable to your photo and add it by choosing plus icon. In basic settings they are so many effects can be added for your photo like gleach,
sport, and choose the option double tick it will useful and automatically added to all the photos. You can choose and drag the layer of the photo and it will adjust and increase the layer up to where you need to keep. And in this application theracious split option it will use it to split the image and derived into different layers.Now you can choose the option Musac and you can blur your face according to the option and increase the blur capacity according to the photo. And there is a different shapes you can choose the particular one to adjust the blur of the photo. And there is a rotate option it will used to rotate your photo in horizontal and vertical ways and you can also flip the photo and there is a mirror option you can choose the same photo as to two types,
of photos in the same way. add there is new trems and because if you added any video, to this project you can mute the sound of the video and you can add particular voice to the photo.Now you can extend the photo and choose the split option and the video will be available as two parts. now you can choose the option stickers, then it will be add to your photo. There is a speed option will be provided to your photo because it will be designed for the basic needs and specific requirements can be handled to the customer. You can also control the speed option because you can also chooythe slow option to add the photo editing in slow motion. Now choose the option filters and not choose the basic filters and there is adjust option their is brightness, contrast, tilt, filter and adjust adjust them with using fingertips.
And there is a saturation option because. it will be convert photo to video editing, and make images in a brighter way. And the option HUE and make the colour to the photo because it will be trime and choose the option sharp and keep the vignette and choose the option apply for all, and dd the same process to all the images. I think every one of you will understand this editing process very well because using this, editing process you can do many kinds of photo editing and also you can do video editing process using this project because you can add different types of effects to it. There is also an opportunity to complete the project. In the next article I will talk about another good editing process, but I will, you specifically about this process, I hope that you will understand this process, thanks
►Kinemastar Preset Link 👇
DOWNLOAD
►Beat Mark Presets LINK :-
DOWNLOAD
►Beat Mark XML file LINK :-
DOWNLOAD
►Shake effect Preset LINK 👇
DOWNLOAD
►Shake effect XML LINK 👇
DOWNLOAD
Full Project
DOWNLOAD
► Video All photo LINK👇
DOWNLOAD
DOWNLOAD
DOWNLOAD
DOWNLOAD
► Song Download Link 🔗
DOWNLOAD


Post Comment