New Best Instag Trending Love Lyrical Video Editing in Alight motion Trending lyrical video editing 13sep1
In this project I will explain about new Efx pinch bubble transmission effect by using alight motion application. Now open alight motion application click on plus icon and select the ratio which you want to be edit or otherwise you need to customize resolution as 1080p X 2340p and keep the colour in background is black and click on create project to continue the process of editing.
After that click on image and video and select the option view all and import the video which you want to edit and click on plus icon to add. After that click on move and transform and adjust the video with your fingertips and keep the. Alignment in middle and click on the video and keep it as fit to screen. Afte that add the video only for 30 seconds and remaining unnecessary part can be trim. After that click on effects layer and add the effect tiles with standard settings and select settings and don’t change anything keep it as default and come back to starting and click on effects and select the effect pinch / bulge with standard settings and now select the settings and add select the option strength and add a key frame in starting and keep it as 0.40 and add another key frame in ending and keep it as 0.83.
and select the radius and keep it as 2.500, and now adjust the graph with your fingertips. And now come back to starting and select the option efforts and select the effect oscillate with standard settings and select the settings and keep the oscillate as 90%. And now select the magnitude and add a key frame in starting and keep it as 180, And also add a key frame in ending and keep it as 650.
After that adjust the graph with your fingertips some much slider. Now select the effect swing with standard settings and select frequency as 3.50, and select start and add a key frame in starting -8.100, and add a another key frame in ending and keep it as -1.03. After that come back to starting and add another effect motion blur with standard settings.
And again click on effects and select the last effect and select puch blue and select with standard settings and select strength and add a key frame in starting middle and ending and adjust the settings with your own custamization.
Now the editing process will be completed. Hope you will understand how to edit this project. Now click here export icon and export the video with high quality and it may take some time to process and added to your gallery.
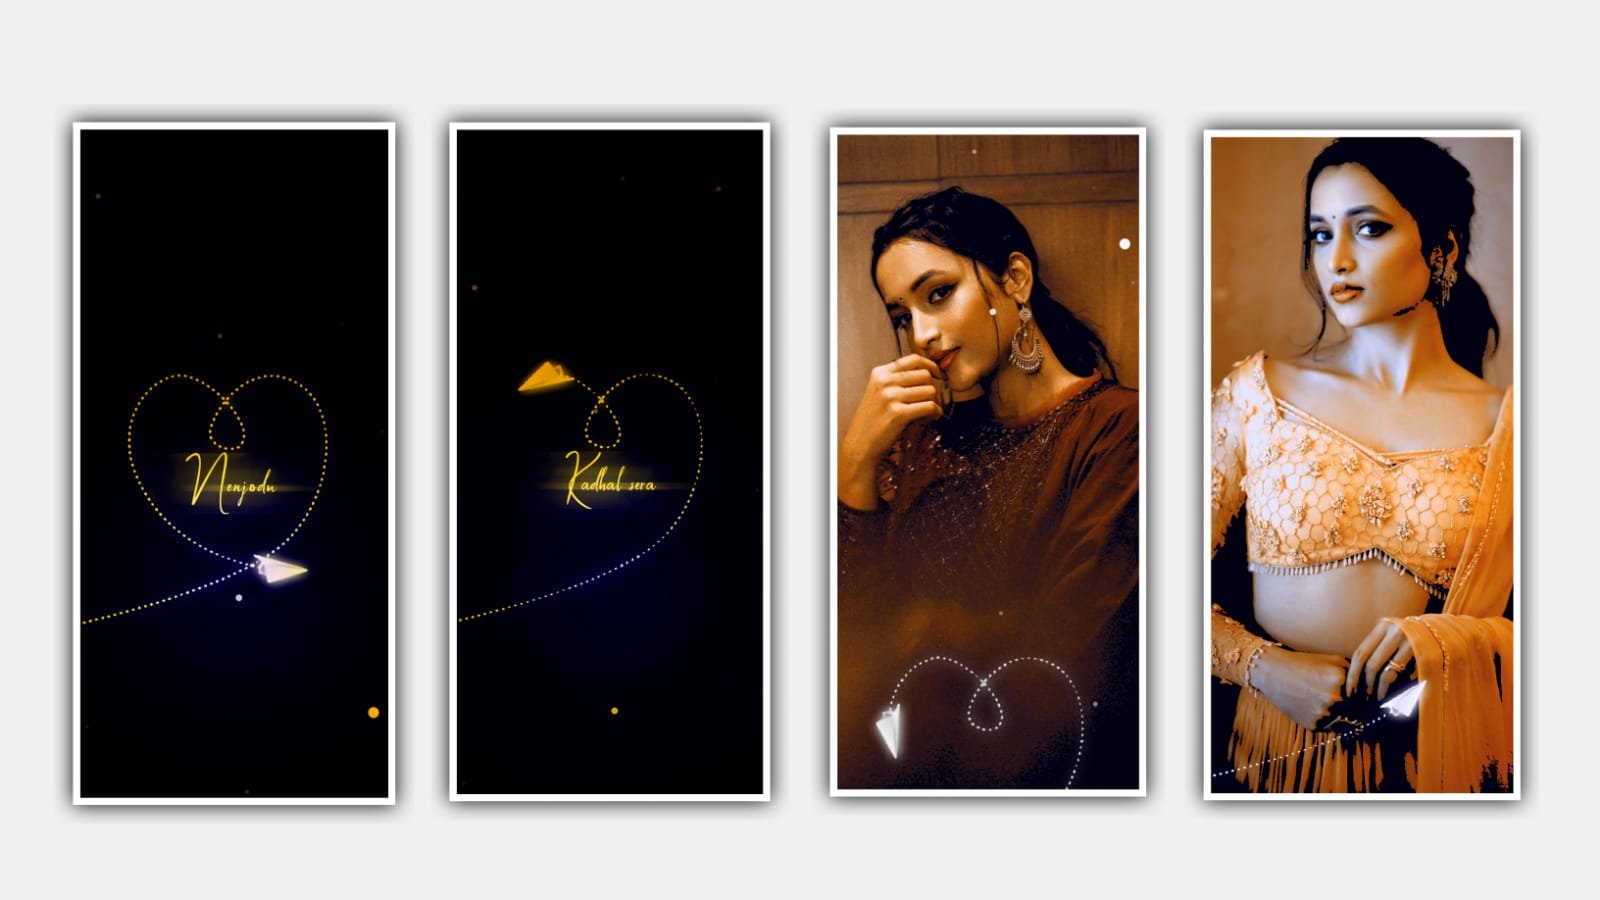
After that see the video and play the video now see the effect glowing and with shining video can be played with high quality they are several effects can be added in this project so please follow the instructions near sequential order or step by step manner. Guys please support us by visiting our website it will gis us encouragement to create more editings in future. we need you support to create more editing tutorials in future thankyou.
All Materials Links :-
►Kinemastar Preset Link 👇
DOWNLOAD NOW
►Beat Mark project preset :
DOWNLOAD NOW
►Beat Mark XML file LINK :-
DOWNLOAD NOW
►Shake effect Preset LINK 👇
DOWNLOAD NOW
►Shake effect XML LINK 👇
DOWNLOAD NOW
► Video All photo LINK👇
DOWNLOAD NOW
► Song Download Link 🔗
DOWNLOAD NOW


Post Comment