New Style Alight Motion New Video Editing Attitude status editing Trending Song ⚡🔥 13sep2
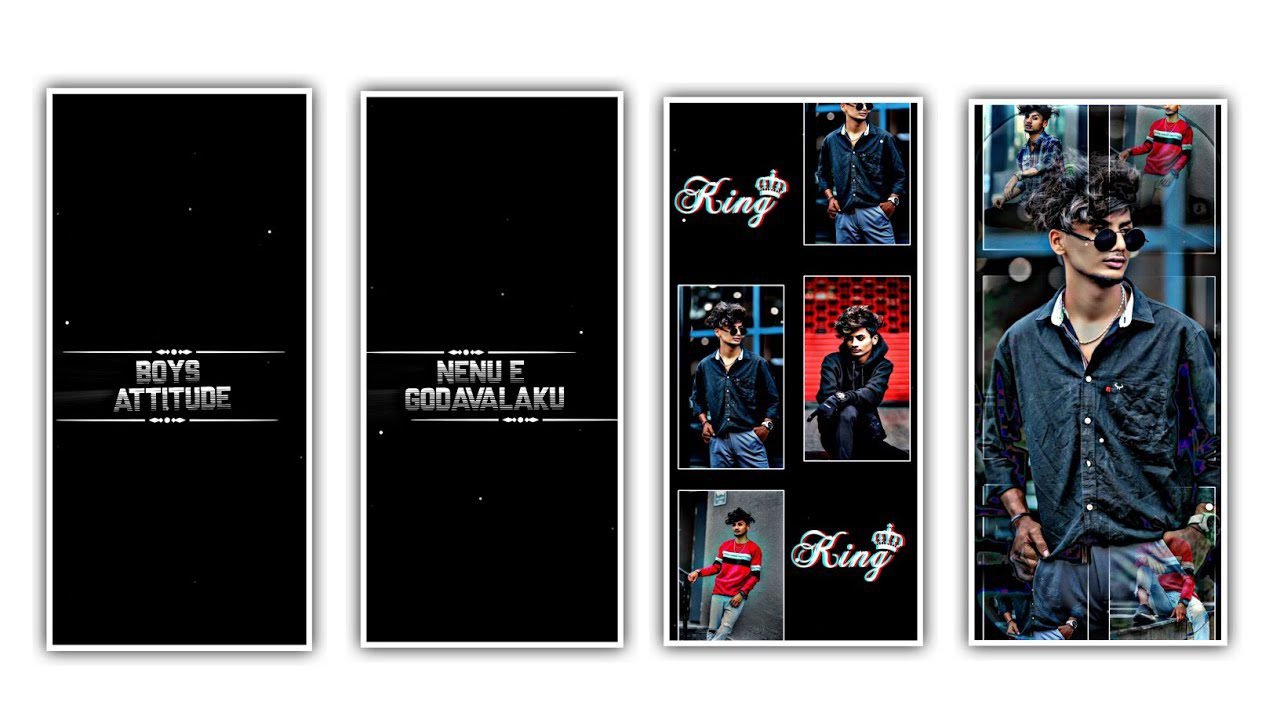
Friends in this project I will explain about new HDR sharpen effect video editing in this project by using alight motion application. Now open alight motion application click on plus icon and select the ratio which you prefer or otherwise you need to customize resolution as 1080p X 2340p and keep the colour in background is black and click on create project to continue the process of editing. In this project I will explain about the high quality HDR sharpen video editing tutorial so guys don’t miss this project and please follow the same instructions the you can understand how to edit this project.
After that you need to add the video in this project for that click on image and video and select the option you all and select video which you want to edit in this project select it by clicking plus icon to. After that click on image and video and select the video to zoom with your fingertips tips. After that see the length of the video and trim upto 30 seconds. After that click on rectangular shape and add increase the shape with your fingertips.
And after that we need to add the effects for this project and select the effect copy background with standard settings and again click on effects and select the effect channel remap RGB with standard settings and set the RGB effect. And now we can add the letter and keep it as R, G, G, A now close that portion and come back to starting and select another rectangular and also keep the rectangle as full. And now select the option copy background with standard settings.
And now again click on add effect and now select the simple stars effect and select the standard settings and option settings and keep the position and add a key frame in starting. And keep it as 800. And add a key frame in ending and keep it as 00.and now click here scale and keep it as 0.25. and select offset and kee it as 144. Now come back to starting and add another effect for this project for that click on effects and select the option add effect and before that add a rectangular shape and add increase it by using move and transform.
And now again select same effect copy background and select with standard settings and also select the option gaussian blur with standard settings and keep it as 415. And select the option add effect and select exposure/ Gamma and select with standard settings. And select the exposure and keep it as -70, and select Gamma ns and keep it as 1.00, and now select offset and keep it as 0.6, and come back to starting and now again select add effect and select the effect saturation/ vibrances and keep saturation as 12.5 and select the vibrances and keep it as there is no change. And now adjust the graph with your fingertips.
Now the process will be completed hope you are understand how to edit the process and now click on export icon and export the video with high quality and automatically added to your gallery. Guys please support us by visiting our website we need you support because it will be boosting us to do move editing tutorials like this video your support. So kee the same support in future thankyou.
Guys please support us by visiting our website we need you support it will gives us encouragement for us to create more editing tutorials like this project. And keep the same support in future. Thankyou.
All Materials Links :-
►Kinemastar Preset Link 👇
DOWNLOAD NOW
►Beat Mark project preset :
DOWNLOAD NOW
►Beat Mark XML file LINK :-
DOWNLOAD NOW
►Shake effect Preset LINK 👇
DOWNLOAD NOW
►Shake effect XML LINK 👇
DOWNLOAD NOW
► Video All photo LINK👇
DOWNLOAD NOW
► Song Download Link 🔗
DOWNLOAD NOW


Post Comment