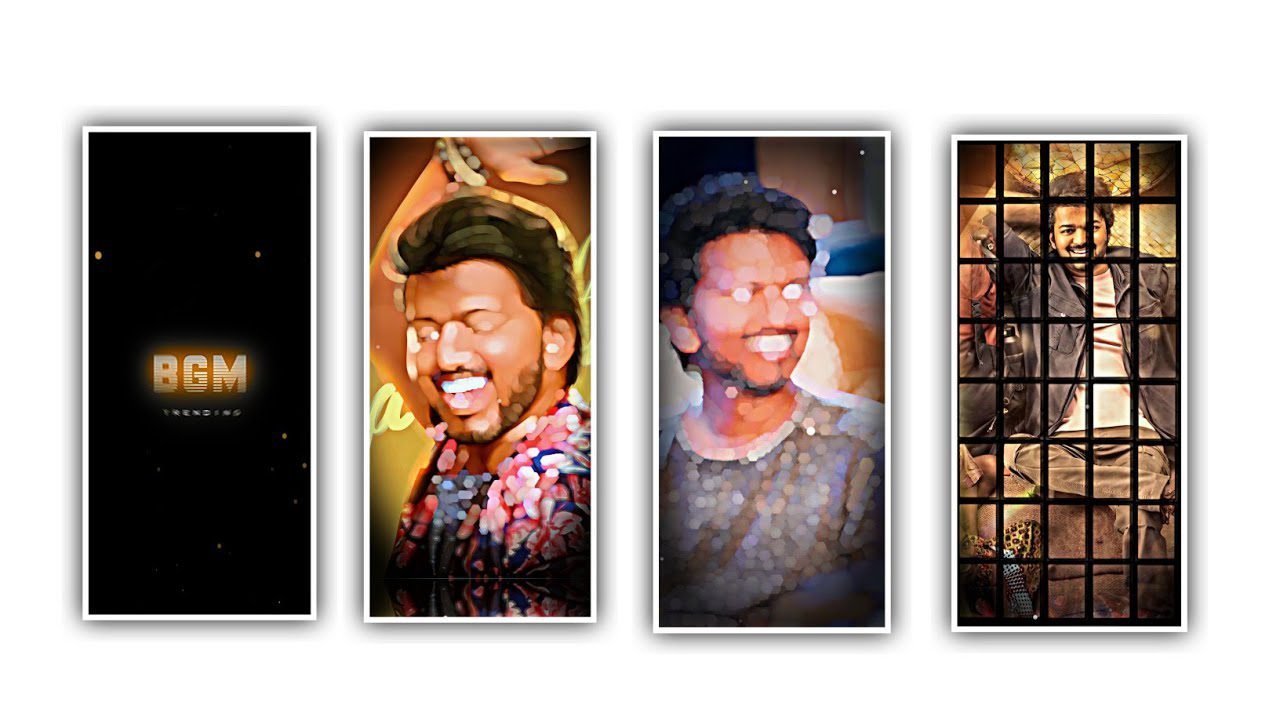
👌🔥Ranjithame BGM Video Editing in Alight motion Instagram trending shake Effect Video Editing 9nov2
In this project I will provide an explanation for about aesthetic video editing in alight motion application. Open alight motion application click on plus icon and pick the ratio that you select or otherwise pick 9:16 and click on on create project to continue the process of editing.
Now click on on photograph and video and choose the option view all and now pick the that you need to edit on this task. After that click on on 3 dots and choose the option fill composition area.
After that we want to add audio for this project for that click on on audio and pick the audio that you need to edit and pick the music and click on on plus icon to add the music into this project.
After that we need to add template I will provide you with a template in description please download it from discription and them to add it to this project after that click on on move and transform and modify the together along with your fingertips. After that we want to add the lyrics for this project for that you can add the lyrics into notepad previously.
After that copy the lyrics from notepad and now click on textual content option and pick the choice edit textual content and paste the copied effect into this edited layer. After that we need to add the for for this project for that I will provide you with a font link in discription please download it and upload to this project after that pick the same font by clicking roboto regular. And now we can add the white colour for the lyrics for that click on okay. After that drag the music and photograph layers upto 30 seconds.
After that play music and upload the lyrics in keeping with the music. Now go back to notepad and copy the lyrics from notepad and come again to this project and paste the lyrics into this splitted layer. Again go back to notepad and copy the lyrics from notepad and come again to editing project and paste the copied lyrics into the splitted layer. And the same method might be continued after that click on on move and transform and modify the lyrics with your fingertips and maintain the alignment in centre.
After that I will provide you with PNG photograph in description please download and upload the PNG to this project after that click on on blending and opecity and select the choice constanty and choose lightern and keep the display screen on after that click on on effect heu Swift with standard settings now pick the size and click on on move and transform and regulate it. After that we want to feature the coloration for the photograph into duplicate layer.
After that I will come up with a preset please import it and copy the effects from there and Paste the same effects to the first layer by clicking plus icon and Paste the same effects to remaining layers.
Now the method of editing might be completed. Hope you’re understanding a way to edit this project now click on on export icon and export the video with high quality and automatically delivered on your gallery. So guys I’m asking for you to please support us by visiting our website your support will help us alot. To create more editing tutorials please keep the equal support in future thank you.
All Materials Links :-
►Kinemaster Preset Link 👇
DOWNLOAD
►Beat Mark project preset :
DOWNLOAD
►Beat Mark Xml file Link :-
DOWNLOAD
►Shake effect Preset LINK 👇
DOWNLOAD
►Shake effect XML LINK 👇
DOWNLOAD
► Video All photo LINK 👇
DOWNLOAD
► Song Download Link 🔗
DOWNLOAD


Post Comment